
I like to call playdough the gift that keeps on giving. Not only is it a hands-on activity that you can create with your child, but it’s also a versatile tool that nurtures a child’s imagination and creativity. Children never seem to tire of it as an activity, and they can enjoy it with you as a parent, with a carer, their friends, or even alone. It’s also a great activity when the weather isn’t conducive to playing outdoors.
Aside from playdough being fun, it also helps children develop important cognitive skills such as hand-eye coordination and fine motor skills. These abilities help build the dexterity and muscle strength used for writing as well as independent tasks such as dressing themselves (think buttons and zippers). It’s amazing how something so simple can contribute to such essential milestones.
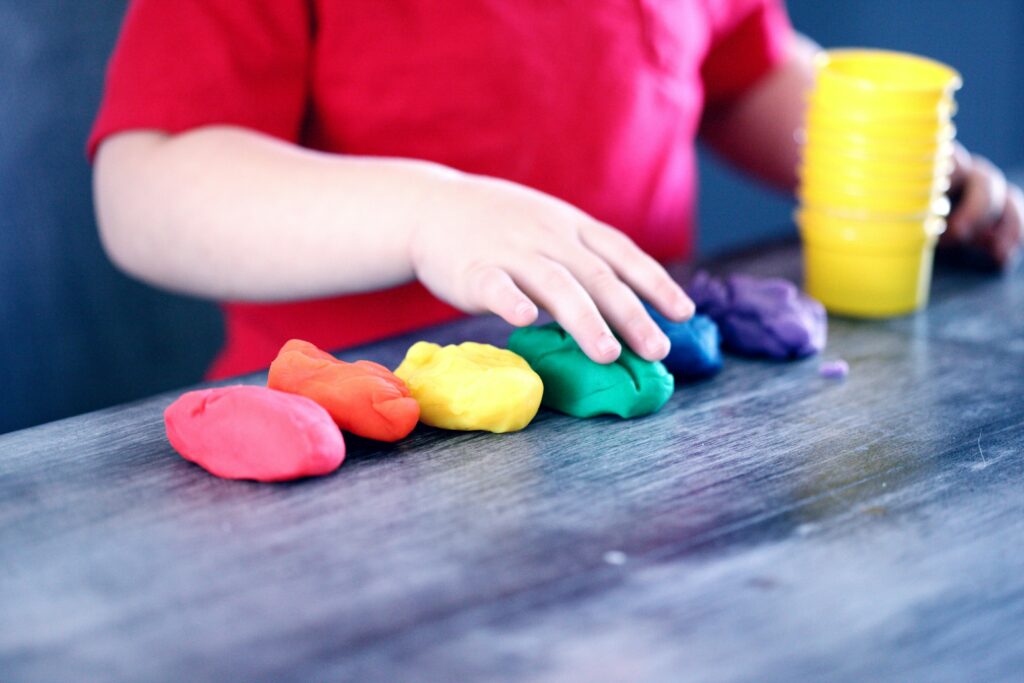
I introduced colors, shapes, and patterns through the use of playdough with my boys. We spent hours in my home making playdough, then making animals, characters, towers, and whatever else their little imaginations could conjure up. We also used cookie cutters, stamps, and other tools to make impressions and designs, adding another layer of creativity and learning to the activity. It’s not just about creating—it’s about experimenting, exploring textures, and even storytelling through what they create.
Playdough is one of those activities that offers endless possibilities. For instance, I’ve used it to teach basic math concepts like counting, adding, and subtracting using small playdough balls or shapes. It’s also a fantastic way to introduce sensory play, especially when you add scents like lavender or peppermint. These little touches make the experience even more engaging and memorable for children.
My Make-at-Home Recipe for Playdough
Ingredients:
2 cups all-purpose flour
3/4 cup salt
4 teaspoons cream of tartar
2 cups lukewarm water
2 tablespoons vegetable oil
Food coloring
Ziplock bags (large and medium size)
Method:
1. Stir together the flour, salt, and cream of tartar in a large pot.
2. Next, add the water and oil. If you’re only making one color, add in the food coloring now as well.
3. Cook over medium heat, stirring constantly. Continue stirring until the dough thickens and begins to form into a ball.
4. Remove from heat and place inside a ziplock bag or onto wax paper.
5. Allow the dough to cool slightly, then knead until smooth.
Adding Colors:
If you’re adding colors after cooking, divide the dough into balls (one for each color). Place each ball in a medium-sized ziplock bag. Add 5 drops of food coloring to start, then add more to brighten as desired. Knead the dough inside the bag to avoid staining your hands. Once the color is evenly mixed, you’re ready to play.
Adding Scents:
Add 1 to 2 drops of your essential oil at a time and continue until the dough reaches your desired scent intensity.
Storage:
Store the playdough inside ziplock bags to keep it soft. It will keep for up to three months if stored properly.
Note:
You can also make playdough in the Thermomix if you have one—it’s a game-changer for those who love quick and easy preparation!

العجينة الطينية (Playdough)!
أحب أن أسمي العجينة الطينية الهدية التي لا تتوقف عن العطاء. فهي ليست فقط نشاطًا عمليًا يمكنك صنعه مع طفلك، بل هي أيضًا أداة متعددة الاستخدامات تعزز خيال الطفل وإبداعه. يبدو أن الأطفال لا يملون من اللعب بها، ويمكنهم الاستمتاع بها معك كأحد الوالدين، أو مع مربيهم، أو أصدقائهم، أو حتى بمفردهم. كما أنها نشاط رائع عندما يكون الطقس غير مناسب للعب في الهواء الطلق.
إلى جانب أن العجينة الطينية ممتعة، فإنها تساعد الأطفال أيضًا على تطوير مهارات معرفية مهمة مثل التنسيق بين اليد والعين والمهارات الحركية الدقيقة. هذه المهارات تعزز البراعة وقوة العضلات المستخدمة في الكتابة، بالإضافة إلى المهام المستقلة مثل ارتداء الملابس (مثل الأزرار والسحابات). إنه لأمر مدهش كيف يمكن لشيء بسيط أن يساهم في تحقيق مثل هذه المعالم الأساسية.
قدمت الألوان والأشكال والأنماط لأطفالي باستخدام العجينة الطينية. قضينا ساعات في منزلي نصنع العجينة الطينية، ثم نصنع الحيوانات، والشخصيات، والأبراج، وكل ما يمكن لخيالهم الصغير أن يبتكره. كما استخدمنا قطاعات البسكويت والأختام والأدوات الأخرى لعمل بصمات وتصاميم، مما أضاف طبقة أخرى من الإبداع والتعلم إلى النشاط. الأمر لا يتعلق فقط بالتصنيع، بل يتعلق أيضًا بالتجربة واستكشاف الملمس وحتى رواية القصص من خلال ما يصنعونه.
العجينة الطينية هي واحدة من تلك الأنشطة التي توفر إمكانيات لا نهاية لها. على سبيل المثال، استخدمتها لتعليم مفاهيم الرياضيات الأساسية مثل العد والجمع والطرح باستخدام كرات أو أشكال صغيرة من العجينة الطينية. كما أنها طريقة رائعة لتقديم اللعب الحسي، خاصة عندما تضيف روائح مثل اللافندر أو النعناع. هذه اللمسات البسيطة تجعل التجربة أكثر جاذبية ولا تُنسى للأطفال.
وصفة العجينة الطينية المنزلية الخاصة بي
المكونات:
- 2 كوب من الدقيق الأبيض العادي
- 3/4 كوب من الملح
- 4 ملاعق صغيرة من كريم التارتار
- 2 كوب من الماء الدافئ
- 2 ملعقة كبيرة من الزيت النباتي
- ملونات طعام
- أكياس زيبلوك (كبيرة ومتوسطة الحجم)
الطريقة:
- اخلطي الدقيق والملح وكريم التارتار في قدر كبير.
- أضيفي الماء والزيت. إذا كنتِ تصنعين لونًا واحدًا فقط، أضيفي ملون الطعام الآن أيضًا.
- اطهي المزيج على نار متوسطة مع التحريك المستمر. استمري في التحريك حتى يتماسك العجين ويبدأ في التكون على شكل كرة.
- أزيلي القدر عن النار وضعي العجين داخل كيس زيبلوك أو على ورق شمع.
- اتركي العجينة لتبرد قليلًا، ثم اعجنيها حتى تصبح ناعمة.
إضافة الألوان:
إذا كنتِ تضيفين الألوان بعد الطهي، قسمي العجينة إلى كرات (واحدة لكل لون). ضعي كل كرة في كيس زيبلوك متوسط الحجم. أضيفي 5 قطرات من ملون الطعام في البداية، ثم أضيفي المزيد إذا كنتِ تريدين لونًا أفتح. اعجني العجينة داخل الكيس لتجنب تلطيخ يديك. بمجرد أن يختلط اللون بالتساوي، تصبح العجينة جاهزة للعب.
التخزين:
احتفظي بالعجينة داخل أكياس زيبلوك للحفاظ على طراوتها. ستبقى صالحة لمدة تصل إلى ثلاثة أشهر إذا تم تخزينها بشكل صحيح.
ملاحظة:
يمكنك أيضًا صنع العجينة الطينية باستخدام جهاز الـ Thermomix إذا كنتِ تمتلكين واحدًا. إنه يوفر طريقة سريعة وسهلة للتحضير!